A crunchy bite of happiness
Bring a fresh spring breeze into your home and take a good bite. Develop your own seedbeds and have them germinate in the warmth of your residence. You can choose your favourite vegetables and edible flowers! Here’s how…
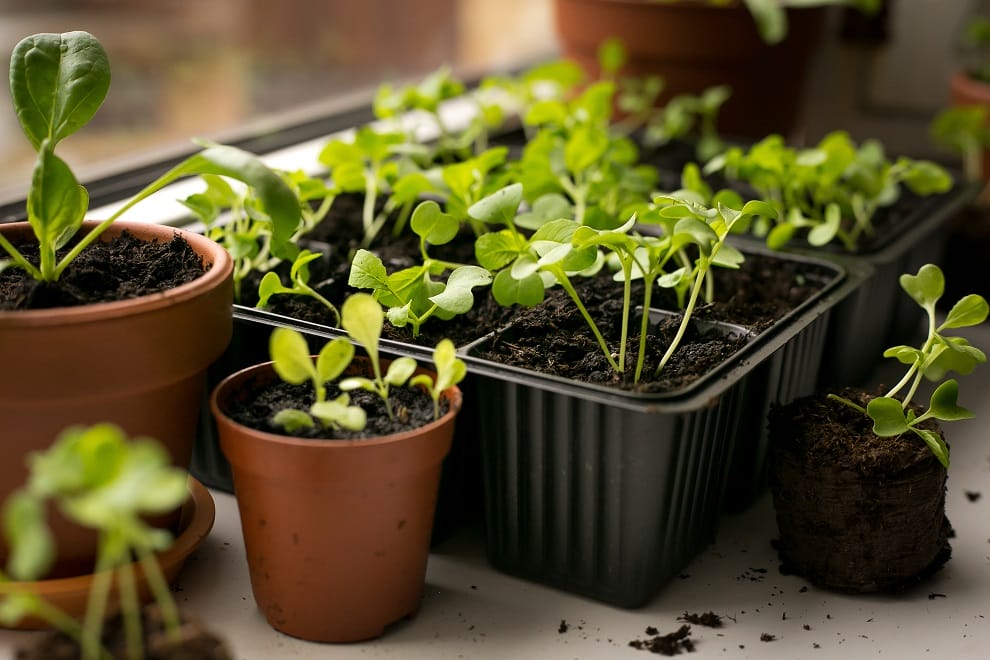
Basic materials
- Small pots
- A bag of soil for seeding and sprouts
- Envelopes of seeds
- All-purpose soluble fertilizer
When to start
Inform yourself online because the dates run from March to May, depending on the variety.
How to start
- Moisten your soil by mixing it with some water in a big bowl.
- Fill your little pots.
- Make a hole in the centre with the handle of a spoon. The hole should be about three times the diameter of the seed. Place three seeds in each hole and cover with soil.

And take good care…
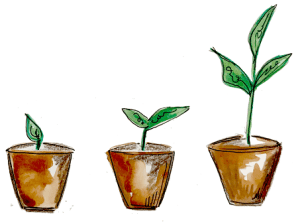
Place the seeded pots in a warm place (21 to 14 degrees Celsius), not in direct sunlight. You could even create – or buy – a mini greenhouse to preserve the warmth and humidity, which favour germination.
Germination will occur over a period of three to 21 days depending on the variety. When it has ended, remove your mini-greenhouse (if you have one). Place your pots in full sunshine or under a grow light, to get the best plant growth.

Watering
Water as soon as the soil is dry. When the seedlings have four to six leaves, start fertilizing: one out of two waterings. Take it outside! As soon as frost is no longer a danger, move your plants outside gradually to acclimate them gently until they’re ready to be replanted in your garden or your vegetable planters.
In this way, self-sufficiency and autonomy will become your new normal!
Happy harvesting, and here’s to your health!

Co-owner & landscape director at Northland (BBA)


0 Comments